
Last updated November 16, 2026
 AC repair
 Furnace & heating
 Heat pumps
 Ductless mini splits
 Carrier
 Trane
 Goodman
Seasonal tune-up and full diagnostic on your Carrier, Trane, or Goodman system - readings shown to you before any repair is proposed
Diagnosis first, numbers second - you approve the repair price before a single part goes in.
Get your free estimateAC Installation Troubleshooting in St. Petersburg: Common Problems and How to Fix Them
A brand-new air conditioner that short-cycles every eight minutes usually isn’t broken. It’s almost certainly oversized, and that mistake shows up far more often in rushed installs than any factory defect does. We’re not talking about a rare fluke here. HVAC trade groups estimate oversizing affects roughly 1 in 3 residential replacements nationwide, and in a climate like ours, an oversized system is the gift that keeps on taking: it cools the house fast, then shuts off before it ever pulls the humidity out of the air. You end up cool and clammy, with a compressor that wears itself out early. What follows is the homeowner’s field guide to the problems that surface after a St. Petersburg AC installation, how to tell a real defect from a shortcut, and exactly what to document before anyone comes out to look at it.
Quick Answer
Most AC installation problems in St. Petersburg aren’t equipment failures; they’re installation issues that surface once the system runs through its first real Florida summer. Short-cycling usually means the unit was oversized, warm air in the first 48 hours usually points to a refrigerant charge or TXV calibration issue, and unusual noises usually trace back to vibration, loose fittings, or line set problems. Document each symptom with dates, photos, and run-cycle times before you call, and know whether the problem falls under the manufacturer warranty or the installer’s workmanship responsibility, because that distinction decides who pays.
Styles & brands we work with
- AC repair
- Furnace & heating
- Heat pumps
- Ductless mini splits
- Carrier
- Trane
- Goodman
Table of Contents
- Short-Cycling After Installation: How to Time Your Cycles
- Why a New System Blows Warm Air in the First 48 Hours
- Unusual Sounds and What Each One Means
- How to Document Installation Defects Before You Call
- Manufacturer Warranty vs. Installer Workmanship: Who Pays
- Humidity Problems: The Florida Factor
- Getting a Comeback Call Handled Right
Short-Cycling After Installation: How to Time Your Cycles
Short-cycling is when your air conditioner starts and stops more frequently than it should. In a correctly sized St. Petersburg system, you should see one or two long run cycles per hour during the hottest part of the day, not six or seven short bursts. A unit that runs for five minutes and rests for five is a warning sign, and timing it yourself is the fastest way to give a technician something useful to work with.
Here’s how to measure it without special tools:
- Pick a hot afternoon. Wait until mid-afternoon in July or August, when your home is carrying its full cooling load.
- Set the thermostat and leave it. Pick a comfortable temperature and don’t touch it. Every adjustment resets the cycle timer and muddies your data.
- Note the start time. When the outdoor unit kicks on, write down the exact time. Use your phone’s stopwatch.
- Note the stop time. When the fan on the outdoor unit stops spinning, note the time again.
- Repeat for at least an hour. Track four to six cycles minimum. Ten is better.
- Calculate the run time. A healthy oversized-free system runs 15 to 30 minutes or more per cycle during peak heat. Cycles under 10 minutes, repeated, are the classic symptom.
If your run times are consistently short, oversizing is the likeliest cause. But short cycles can also point to a refrigerant issue (low charge makes the system trip a safety switch early) or a thermostat wired to a temperature swing that’s too tight. Each possibility needs a technician to diagnose, but the timing data you collect tells them where to start.
Here’s the thing about oversizing in St. Petersburg: a lot of homes were built or renovated before modern load-calculation methods became standard, and replacements often go in with the same tonnage as the old unit rather than a new calculation. That’s a shortcut. The right starting point for a replacement is a room-by-room load calculation, and we insist on one before recommending a system size, regardless of what the old label says.
Why a New System Blows Warm Air in the First 48 Hours
A newly installed system that blows warm air in its first 48 hours usually has a refrigerant charge or TXV calibration problem, not a failed compressor. This surprises homeowners who assume the compressor died. The compressor is a big expensive part, and imagining that failure drives people straight to an angry phone call about a bad unit. But a fresh install is a set of moving parts that all need to be in balance, and a charge that’s off, a TXV that hasn’t been adjusted for the refrigerant type and indoor conditions, or a line set that wasn’t installed correctly will all cause warm air even though the compressor is fine.
What to check before you call:
- Check your thermostat mode. This sounds silly, but a thermostat set to “auto” or heat mode after a technician test-run will blow warm air until you switch it back to “cool.” Verify the mode and the setpoint.
- Check the filter. A brand-new system can be restricted by a filter that wasn’t swapped out after the install, or by debris left inside the air handler from the install work.
- Feel the air at the registers. If it’s blowing fast but not cold, that’s a refrigerant or TXV issue. If it’s blowing weakly, that’s airflow. The two point to different problems.
- Check the outdoor unit. Is the fan running? Is the coil clean? A condenser with a shipping tie-down still attached or debris in the coil will run but won’t transfer heat.
- Note the timing. When did the system start blowing warm? Right after install, or after a few days? Warm air “from day one” and warm air “on day four” are different stories.
If warm air persists past the first day, don’t run the system. A unit operating on the wrong refrigerant charge can damage the compressor. Call for service and describe exactly what you observed. In a fresh install, we treat a warm-air complaint as a priority call because the longer a charge problem runs, the more expensive the diagnosis gets. This is also a good moment to look at your overall AC installation to confirm the equipment was sized and commissioned correctly, since a rushed start-up can leave a system running on assumptions rather than measurements.
Some units are especially sensitive to charge and TXV calibration, and Daikin and Bryant systems are worth a close look at this stage. Our technicians are fluent across both platforms, along with seven other major brands, so a warm-air complaint doesn’t turn into a mystery about whose system it is.
Unusual Sounds and What Each One Means
Every noise after an install tells you something specific, and matching the sound to the cause gets you to the right answer faster than describing it as “loud.”
| Sound | When It Happens | Likely Cause |
|---|---|---|
| Rattling or buzzing | At startup | Loose panel, unsecured line set, or vibration against a wall or joist |
| Hissing | At the air handler or indoor unit | Refrigerant leak at a fitting, or a TXV that hasn’t been calibrated |
| Clicking | At shutdown | Normal relay sound, or a contactor that’s short cycling |
| Clunking | At startup or shutdown | Compressor mounting, or a loose indoor blower assembly |
| Screeching or screeching-whine | During run | Blower motor bearing, or belt on older air handlers |
| Gurgling | At the outdoor unit | Refrigerant flow, sometimes normal, sometimes a low-charge sign |
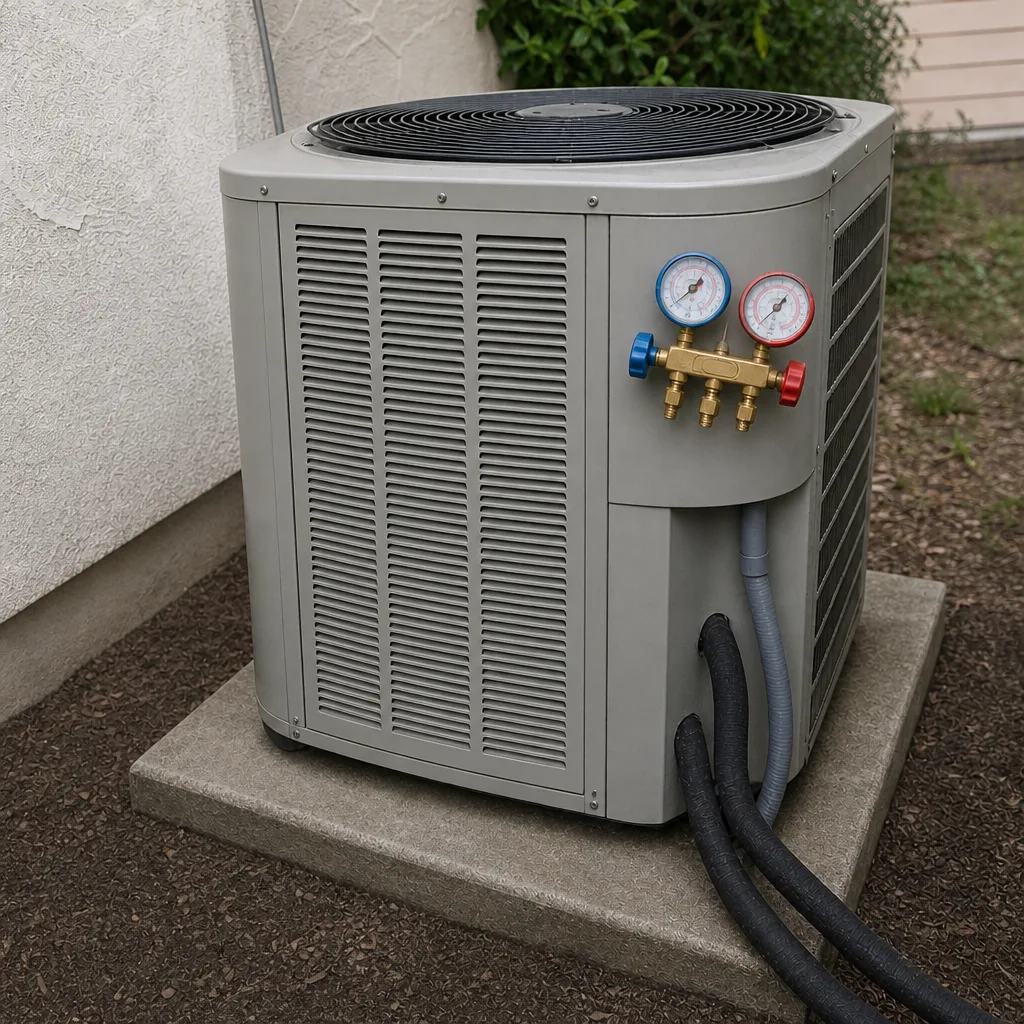
Vibration at startup is the most common fresh-install complaint. A unit that wiggles or rattles when it comes on probably has an unsecured refrigerant line that’s vibrating against a joist or a panel, or a pad that isn’t level. In St. Petersburg, where outdoor units often sit on a concrete pad under a carport or beside a fence, sun and soil settling can shift a pad within a season and turn a quiet unit into a rattler. That’s an easy fix and not a warranty issue, but it needs to be handled before the vibration wears the copper line.
Hissing at the air handler is different and deserves specific attention. Hissing usually means a small refrigerant leak, and on a fresh install, the most common leaks are at the flare fittings the installer made. A leak is an installation workmanship concern, not a worn part, and it needs to be documented. If you hear persistent hissing, shut the system down and call for service. A chronically undercharged system won’t cool and can kill a compressor.
Clicking at shutdown is the one sound most likely to be normal: you’re hearing the contactor and thermostat relay open. But if the clicking continues for minutes after shutdown, or repeats faster than normal, that points to a contactor that’s cycling, which will need a technician’s eye. If you aren’t sure which noise you’re hearing, don’t guess. Ask your Thrive AC Repair technician to do a sound check as part of any post-install visit and to explain what’s normal and what isn’t, so you don’t have to relitigate this with every season.
How to Document Installation Defects Before You Call
Documentation gets you a faster diagnosis and a cleaner warranty claim. Photographs, dates, and written notes turn a vague complaint into a specific defect, and a specific defect is what an installer can act on. Here’s what to capture, in order:
- Photograph the outdoor unit. Get a wide shot showing the whole unit, the pad, and the walls around it. Then get close-ups of the refrigerant line connections at the unit.
- Trace and photograph the line set. Follow the refrigerant lines from the outdoor unit to the indoor unit. Look for spots where the lines sag, rub against a wall or joist, or run unsupported for long stretches. Supported lines run in straight, secured spans, and a proper install pitches the line set to allow for oil return. Sagging or unsupported runs are installation defects.
- Check the vapor barrier and wall penetrations. Where the lines pass through the wall or floor, there should be a sealed penetration. Gaps allow humid Florida air into the wall cavity, which is a moisture problem you can photograph and document.
- Nail down the date. Note the date of the install, the date you first noticed the problem, and the date you’re documenting. This matters for warranty timelines.
- Write a short log. For each symptom, note the date, the time, what happened, and what you did (for example, “system short-cycled every 6 to 8 minutes from 2:00 to 3:30, no other change”).
- Photograph the thermostat and model plate. Get clear shots of the model and serial numbers on both the outdoor unit and the air handler. Any technician will need those.
Don’t clean, move, or adjust anything you’ve documented. A technician needs to see the condition the system is in when the problem occurs, not after a homeowner has tried to “straighten things out.” Document what you see, then leave it alone.
Here in St. Petersburg, humidity is a major concern, and documentation of an unsealed wall penetration is the difference between a quick repair and a long conversation about mold. The same is true of line set issues that vibrate against a structure; a photograph of the sagging line beats a description of “rattling” every time.
Manufacturer Warranty vs. Installer Workmanship: Who Pays
The single most important distinction after a botched or rushed install is whether the problem falls under the manufacturer warranty or the installer’s workmanship responsibility, because that distinction decides who pays for the fix. Manufacturers warrant the equipment itself: the compressor, the coils, the motors, the internal parts. If a compressor fails because the part itself is defective, the manufacturer warranty covers the part. If a compressor fails because the unit was installed with the wrong refrigerant charge, that’s not a part failure, and the manufacturer will rightly decline the claim.
Here’s how the split usually falls:
- Equipment defects (manufacturer): a compressor that seizes within days, a bad blower motor, a leaking coil with a factory defect, a control board that fails. These are parts the factory made and warranted.
- Workmanship issues (installer): undersized or oversized equipment, incorrect refrigerant charge, a TXV not calibrated for the install, a line set that’s kinked or unsupported, unsealed wall penetrations, a condensate drain pitched the wrong way, or a drain that wasn’t trapped properly.
- The overlap: a workmanship problem that causes a part failure. If a low charge from install kills a compressor, the compressor is a manufacturer-warranty part but the manufacturer will say the failure was caused by workmanship. That’s when the installer should make it right, and documentation is what supports your claim.
This is why the written paper trail matters. A call that starts with “my system is broken” usually turns into a warranty-decline discussion. A call that starts with “here’s the install date, here’s my cycle-time log, here’s a photo of the unsupported line set, and here’s the model plate” gets the conversation where it needs to go. We’ve seen how much faster a clear record moves things, and it’s why we put the effort into documenting every install we do ourselves. If your installer’s responsibility isn’t clear, ask them in writing: “Is this a warranty issue or a workmanship issue?” Get the answer before you authorize any work, so you know who’s paying.
One quiet advantage of working with a company that services nine major brands, including American Standard and York, is that a brand-agnostic technician has no financial reason to steer a warranty discussion toward one outcome or another. The right answer is the right answer.
Humidity Problems: The Florida Factor
Humidity is where St. Petersburg installations succeed or fail quietly. Our summers run hot and wet, and an air conditioner’s job isn’t just to cool the air; it’s to pull moisture out. A unit that cools the house but leaves it clammy and humid is telling you it isn’t running long enough to dehumidify, or that the indoor airflow is set too high.
You’ll know you have a humidity problem if any of these sound familiar:
- The house feels cool but sticky, and showers and cooking leave condensation on windows.
- Your thermostat reads 74 degrees but the rooms feel damp.
- The floors near the returns feel slick, or you notice musty smells after a fresh install.
- Your air handler’s blower speed was set high “for more airflow” at install.
Oversizing is the most common cause. A system that cools the space in eight minutes never gets a chance to run long enough to pull humidity out. But there are other causes too: an indoor blower set to an unnecessarily high speed, a refrigerant charge that’s off, or a condensate drain that’s clogged or improperly pitched, leaving moisture in the pan and the surrounding air. In St. Petersburg, our humidity load can be substantial, and a rushed install that doesn’t account for it will underperform on exactly the days you need it most. The right fix starts with confirming the system was sized with a real load calculation, then checking blower speed and charge.
Don’t reach for a dehumidifier as a fix until the underlying system has been verified. A whole-house dehumidifier is a good tool in some homes, but if the AC is oversized or airflow is set wrong, you’ll be paying to correct a symptom rather than the cause. In our experience, most “new system doesn’t remove humidity” calls in St. Petersburg trace back to something that was set at install, not a failed part.
Getting a Comeback Call Handled Right
A comeback call is a call about a problem with an installation, and it needs to be handled differently from a standard service call. Callbacks should get priority, should be scheduled to look at the same installation, and should include a review of what was measured at install time. Here’s how to get the most from one:
- Call during the dispatch window. We answer 24/7 and fast dispatch runs from 7am to 7pm, Sunday through Friday. A call outside those dispatch hours gets booked into the next opening, Sunday through Friday, 7am to 7pm.
- Have your documentation ready. Date of install, date symptoms started, your cycle-time log, photos, model and serial numbers. Hand it to the technician when they arrive.
- Describe the symptom plainly. “It short-cycles every seven minutes on hot afternoons” is better than “it’s not working right.”
- Ask what was measured at install and what’s being measured now. Refrigerant pressures, superheat and subcooling, static pressure, airflow in CFM. A good technician expects this question and can answer it.
- Get the diagnosis and the fix in writing. What’s wrong, what’s being done, and who’s responsible for the cost.
Take advantage of the call to ask about your furnace repair as well if you have a furnace, because a technician already on site can often check the heating side in the same visit. A callback is also a good time to request the load calculation used on your install. If none was done, that’s important information for you to have. A properly sized system is not a premium add-on; it’s the starting point.
Common Mistakes to Avoid
- Assuming the new unit is defective. On a fresh install, the odds strongly favor a workmanship issue over a bad part. Start with the install checklist and the charge, not the warranty claim.
- Running an undercharged system “to see if it clears up.” A compressor running on low charge can be destroyed in days. Shut it off and call.
- Adjusting your own refrigerant line set or thermostat wiring. This isn’t a DIY fix. Refrigerant work is a licensing and safety issue, and an improper adjustment voids the warranty on the equipment.
- Skipping documentation because you “don’t want to be a difficult customer.” Documentation isn’t difficult; it’s how a fair installer and a homeowner reach the same conclusion quickly.
- Accepting a warranty denial without asking why. If a warranty is declined because the cause is workmanship, ask for that in writing and take it up with the installer. That’s the conversation that determines who pays.
- Letting an oversized system go unreported through a whole season. The longer it runs on the wrong size, the more moisture stays in the house and the more wear the compressor takes. Report it in the first season.
- Overlooking the Florida humidity factor. St. Petersburg homeowners who only judge an install by “does it get cold” will miss the dehumidification problem until the walls tell them. Check run times and air feel, not just the thermostat.
See the difference
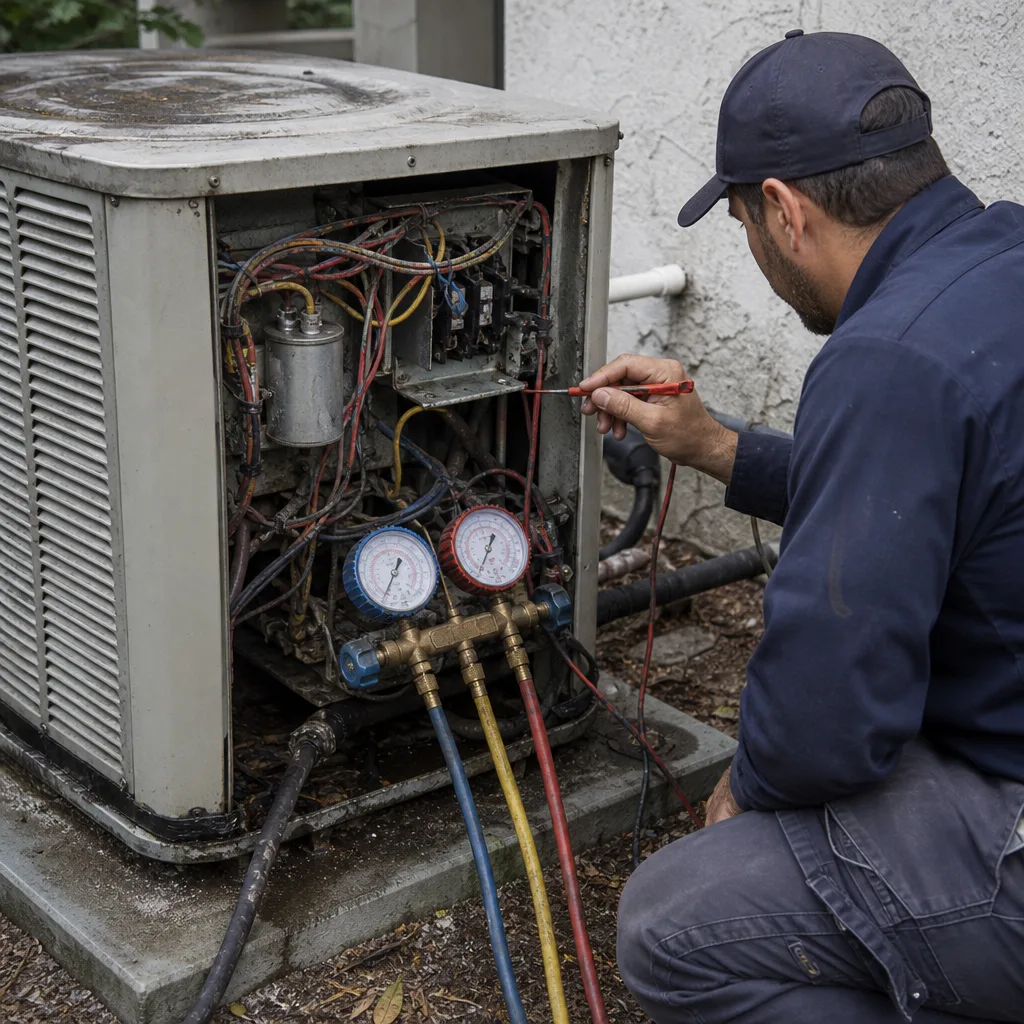 Before
 After
 Before
 After
 Before
 After
When to Call a Professional
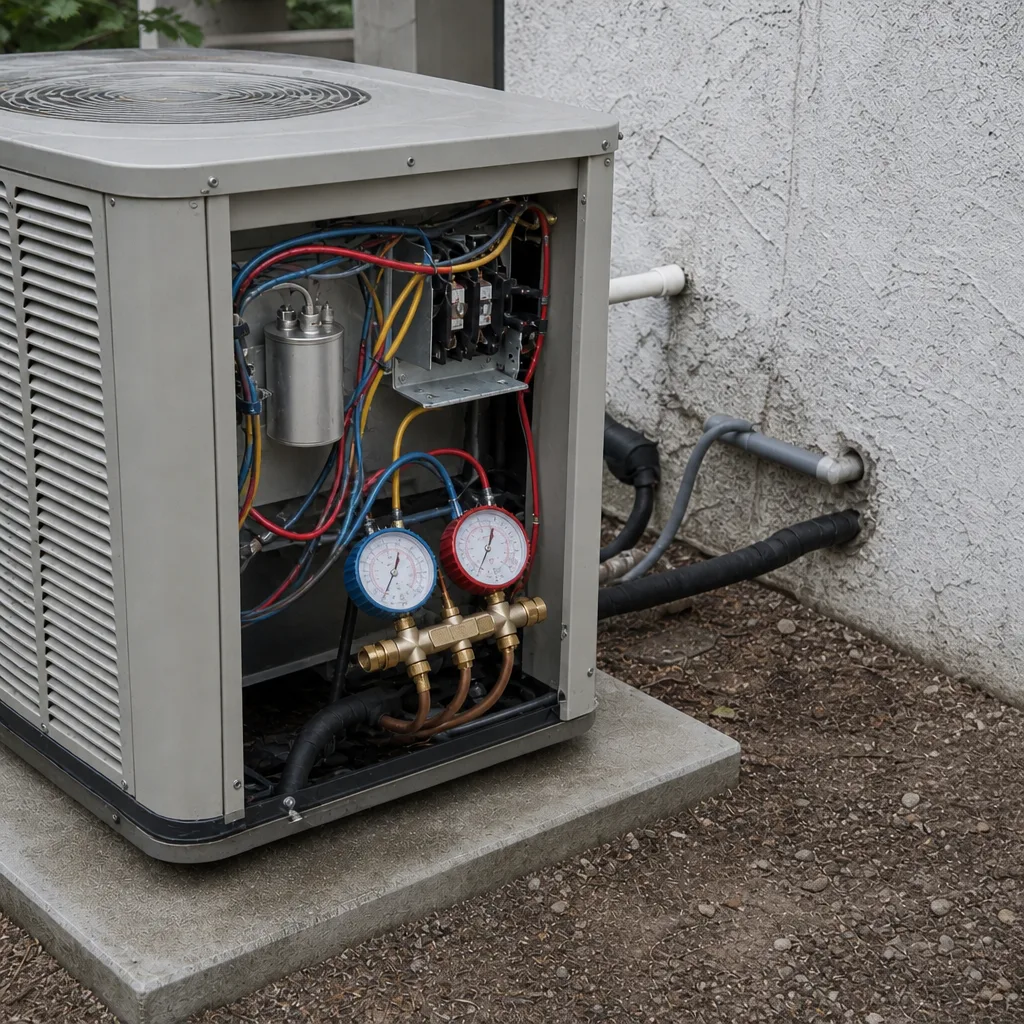
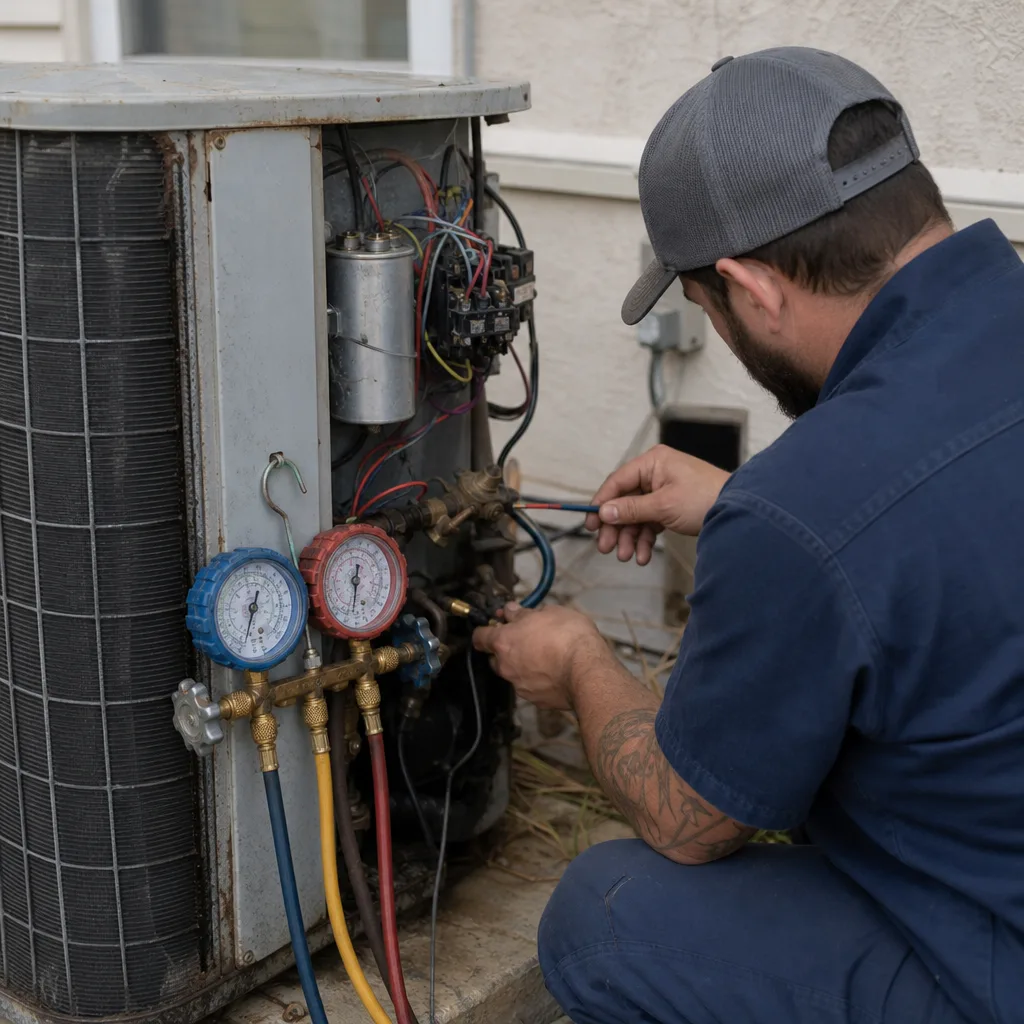
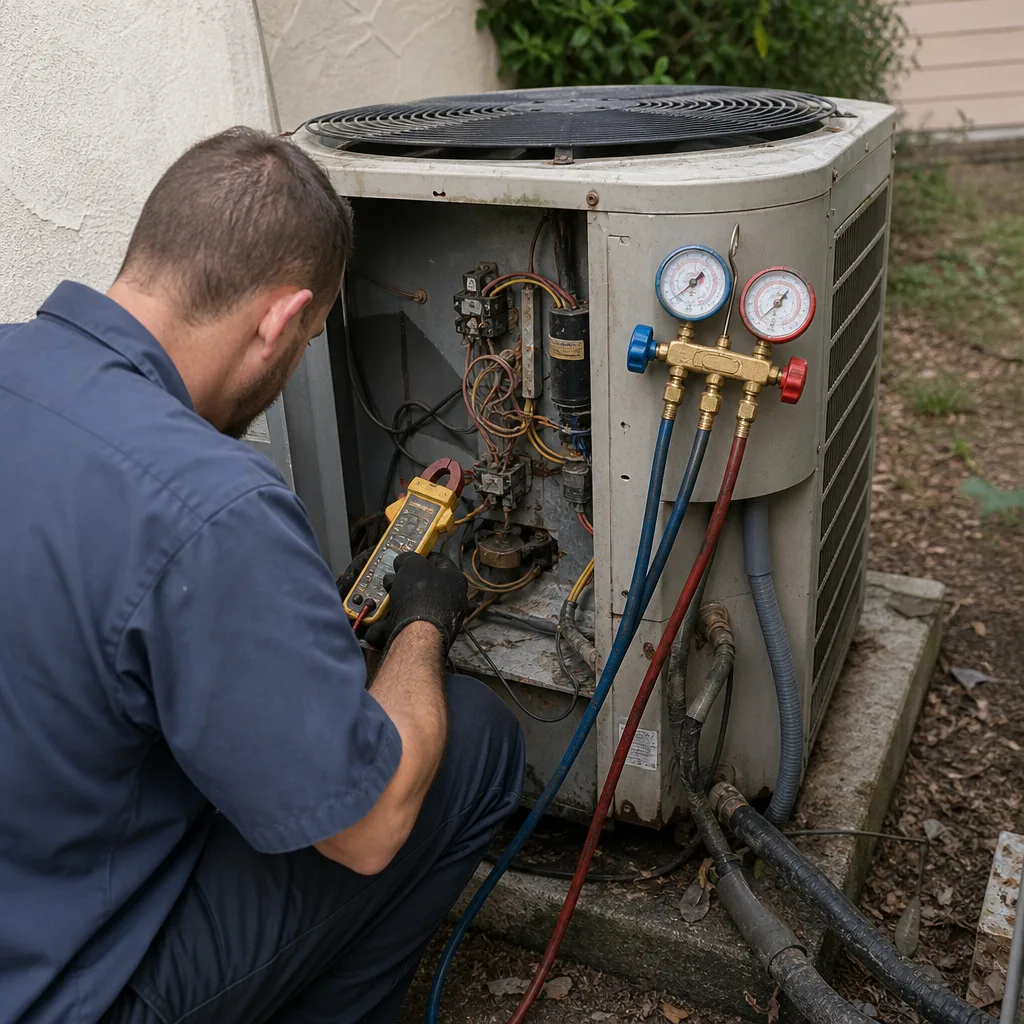
Call a professional for any symptom that involves the refrigerant circuit, the compressor, electrical connections, or repeated short cycling that you’ve timed and confirmed. If your fresh install blows warm air, hisses at the air handler, or keeps tripping a breaker, shut the system down and call. Refrigerant work is a licensed trade for a reason, and the equipment on your wall needs a gauges-and-meters diagnosis, not a homeowner’s guess. If your own cycle-time log shows runs under 10 minutes during peak heat, that alone is enough reason to schedule a visit.
Thrive AC Repair offers free estimates in St. Petersburg. Call (855) 490-0819. We answer 24/7, and fast dispatch runs from 7am to 7pm, Sunday through Friday.
Our technicians have up to 14 years of experience with Carrier, Trane, Lennox, Goodman, Rheem, York, Daikin, Bryant, and American Standard equipment, so a fresh install is never a mystery about the brand. Whether you’re dealing with a new unit that never cooled right, a humidity issue, or the question of whether a fix or a new system is the smarter financial move, we’ll give you a straight answer on your system, not the brand we’d rather sell you. That’s the point of working with an St. Petersburg company that services across brands instead of pushing one. And when the weather turns and you need heating help, the furnace repair side of the business runs on the same standard. One call, one point of contact, all year.
Frequently Asked Questions
Time your run cycles on a hot afternoon; if the system runs under 10 minutes per cycle and then shuts off, oversizing is the likely cause. A correct system runs longer, typically 15 to 30 minutes per cycle in peak heat, to cool and dehumidify. If your log shows short cycles, ask for the load calculation used at install. Call (855) 490-0819 for an exact assessment. Estimates are free.
A new system blowing warm air in the first 48 hours is usually a refrigerant charge or TXV calibration issue, not a failed compressor. Check that the thermostat is set to cool and the filter is clean, then call for service and describe what you observed. Don’t keep running it; a low charge can damage the compressor. Call (855) 490-0819 for an exact quote. Estimates are free.
The installer pays for workmanship issues, and the manufacturer warranty covers defective parts only. A low refrigerant charge from install is a workmanship issue, so the manufacturer won’t cover a compressor that failed because of it. Ask your installer in writing whether the problem is a warranty or a workmanship issue before authorizing work, and call (855) 490-0819 to schedule a diagnosis.
Same-day service is often possible for a warm-air complaint, and we treat fresh-install callbacks as priority work. We answer 24/7, and fast dispatch runs from 7am to 7pm, Sunday through Friday. A call outside dispatch hours is booked into the next opening, Sunday through Friday, 7am to 7pm. Call (855) 490-0819 for an exact quote. Estimates are free.
You’re almost certainly looking at an oversized system or a blower set too high, which prevents the system from running long enough to remove moisture. In St. Petersburg’s summers, this is one of the most common fresh-install complaints. Ask your technician to check the load calculation, blower speed, and charge. Call (855) 490-0819 for an exact quote. Estimates are free.
Hissing at the air handler and persistent clicking after shutdown are the two that deserve a call; startup rattle is usually a loose panel or unsupported line set. Hissing points to a refrigerant leak, which is a workmanship concern. Note the sound and when it happens, then schedule a visit. Call (855) 490-0819 for an exact quote. Estimates are free.
The Bottom Line
Most post-installation problems in St. Petersburg aren’t equipment failures; they’re shortcuts that only show up once the system runs through a real Florida summer. Short cycles usually mean oversizing, warm air in the first two days usually means a charge or TXV issue, humidity complaints usually mean airflow was set wrong, and strange noises usually trace back to line set and panel issues. Document what you see, ask the warranty-versus-workmanship question in writing, and get the fix to a technician who works across brands. When you need a fresh set of eyes, call (855) 490-0819 for a free estimate.
Written by the team at Thrive AC Repair.